


Laravel
Laravel is a free , open-source PHP software framework, developed by Taylor Otwell and designed to build web applications based on the architectural template model – view – controller (MVC) and based on Symfony. Some of Laravel 's features include a modular packaging framework with a dedicated dependency manager, various ways of accessing relational databases, utilities that help in application deployment and maintenance. Read more about Laravel

Socialite
A social login is a form of single sign-on using existing information from a social networking service such as Facebook, Twitter, Github or Google, to sign into a third-party application instead of creating a new account specifically for that application. With Facebook , Twitter , Google, LinkedIn, GitHub, GitLab and Bitbucket, Laravel Socialite offers an intuitive, fluent interface to OAuth authentication. It handles almost all of the social authentication code you hate writing on boilerplate and makes it easier for the user to sign up or sign in into an application with just a click.
In this article, I will show you how to create a social sign up with GitHub, Gmail, Facebook and Twitter the Laravel framework.
Requirements
Before you continue with this tutorial, it is assumed that you are familiar with PHP and Laravel Framework. If you are not really familiar or you haven't used the Laravel framework before, I will advise you to learn the basics of Laravel and can at least develop an application with the Laravel framework.
Let's get started!
Step 1
Create Laravel Project
First, let's create our Laravel project.
Open your terminal, navigate to the folder you want to create your project and run the following command.
composer create-project --prefer-dist laravel/laravel socialite
Run cd socialite to navigate into the new project you just created
Step 2
Setup
Open the project with any code editor of your choice. I will be using Visual Studio Code.
Configure your .env file and connect to your database
DB_CONNECTION=mysql
DB_HOST=127.0.0.1
DB_PORT=3306
DB_DATABASE=laravel-socialite
DB_USERNAME=root
DB_PASSWORD=
Open your terminal and run the following
composer require laravel/ui
php artisan ui vue --auth
npm install && npm run dev
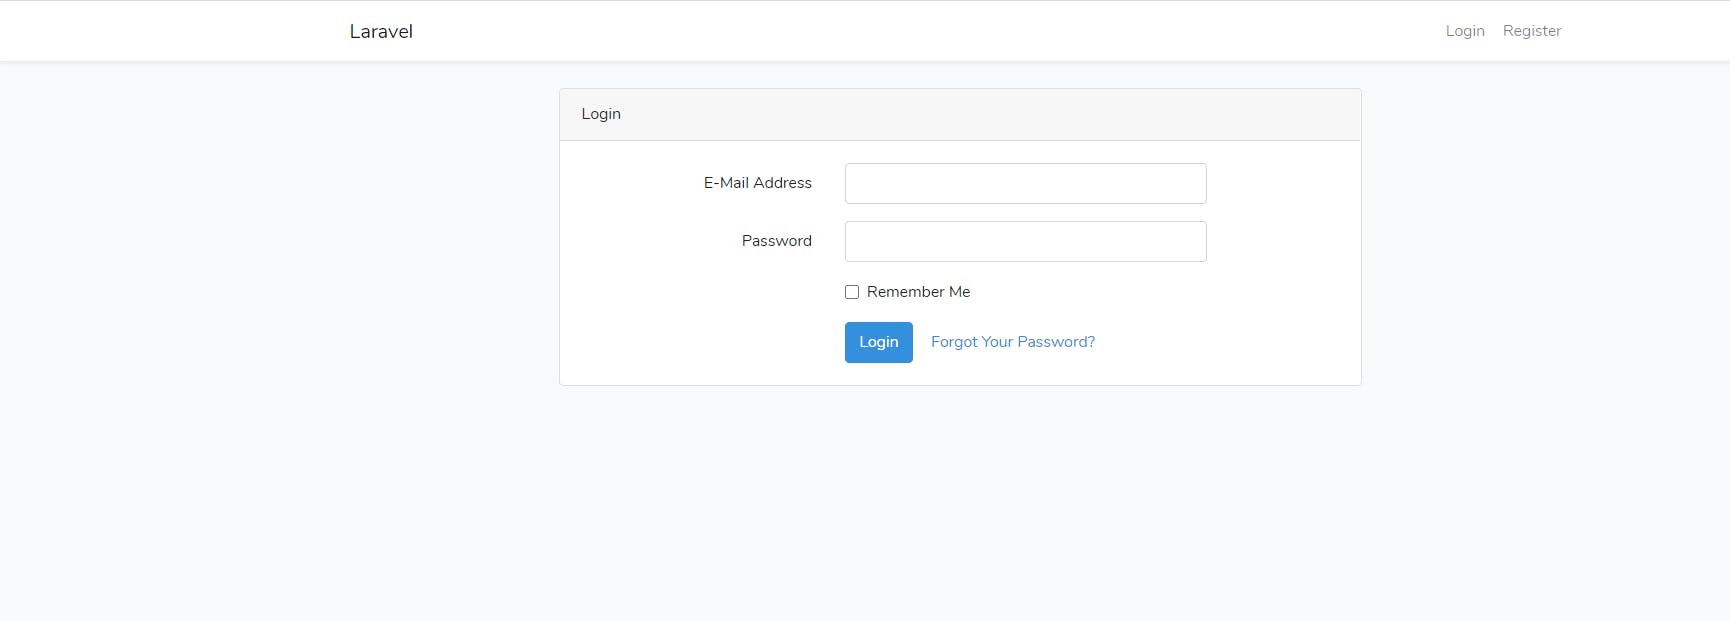
Then let's check out what we have so far.
php artisan serve
If you successfully run the above, you should have something like this.
Go back to you code editor, open the login.blade.php file and replace it with the following
@extends('layouts.app')

@section('content')
<div class="container">
    <div class="row justify-content-center">
        <div class="col-md-8">
            <div class="card">
                <div class="card-header">{{ __('Login') }}</div>

                <div class="card-body">
                    <form method="POST" action="{{ route('login') }}">
                        @csrf

                        <div class="form-group row">
                            <label for="email" class="col-md-4 col-form-label text-md-right">{{ __('E-Mail Address') }}</label>

                            <div class="col-md-6">
                                <input id="email" type="email" class="form-control @error('email') is-invalid @enderror" name="email" value="{{ old('email') }}" required autocomplete="email" autofocus>

                                @error('email')
                                    <span class="invalid-feedback" role="alert">
                                        <strong>{{ $message }}</strong>
                                    </span>
                                @enderror
                            </div>
                        </div>

                        <div class="form-group row">
                            <label for="password" class="col-md-4 col-form-label text-md-right">{{ __('Password') }}</label>

                            <div class="col-md-6">
                                <input id="password" type="password" class="form-control @error('password') is-invalid @enderror" name="password" required autocomplete="current-password">

                                @error('password')
                                    <span class="invalid-feedback" role="alert">
                                        <strong>{{ $message }}</strong>
                                    </span>
                                @enderror
                            </div>
                        </div>

                        <div class="form-group row">
                            <div class="col-md-6 offset-md-4">
                                <div class="form-check">
                                    <input class="form-check-input" type="checkbox" name="remember" id="remember" {{ old('remember') ? 'checked' : '' }}>

                                    <label class="form-check-label" for="remember">
                                        {{ __('Remember Me') }}
                                    </label>
                                </div>
                            </div>
                        </div>

                        <div class="form-group row mb-0">
                            <div class="col-md-8 offset-md-4">
                                <button type="submit" class="btn btn-primary">
                                    {{ __('Login') }}
                                </button>

                                @if (Route::has('password.request'))
                                    <a class="btn btn-link" href="{{ route('password.request') }}">
                                        {{ __('Forgot Your Password?') }}
                                    </a>
                                @endif
                            </div>
                        </div>

                        <div class="form-group row mb-0 mt-3">
                            <div class="col-md-8 offset-md-4">
                                <a href="{{ url('/login/github') }}" class="btn btn-warning">
                                    {{ __('Login with Github') }}
                                </a>
                            </div>
                        </div>


                    </form>
                </div>
            </div>
        </div>
    </div>
</div>
@endsection
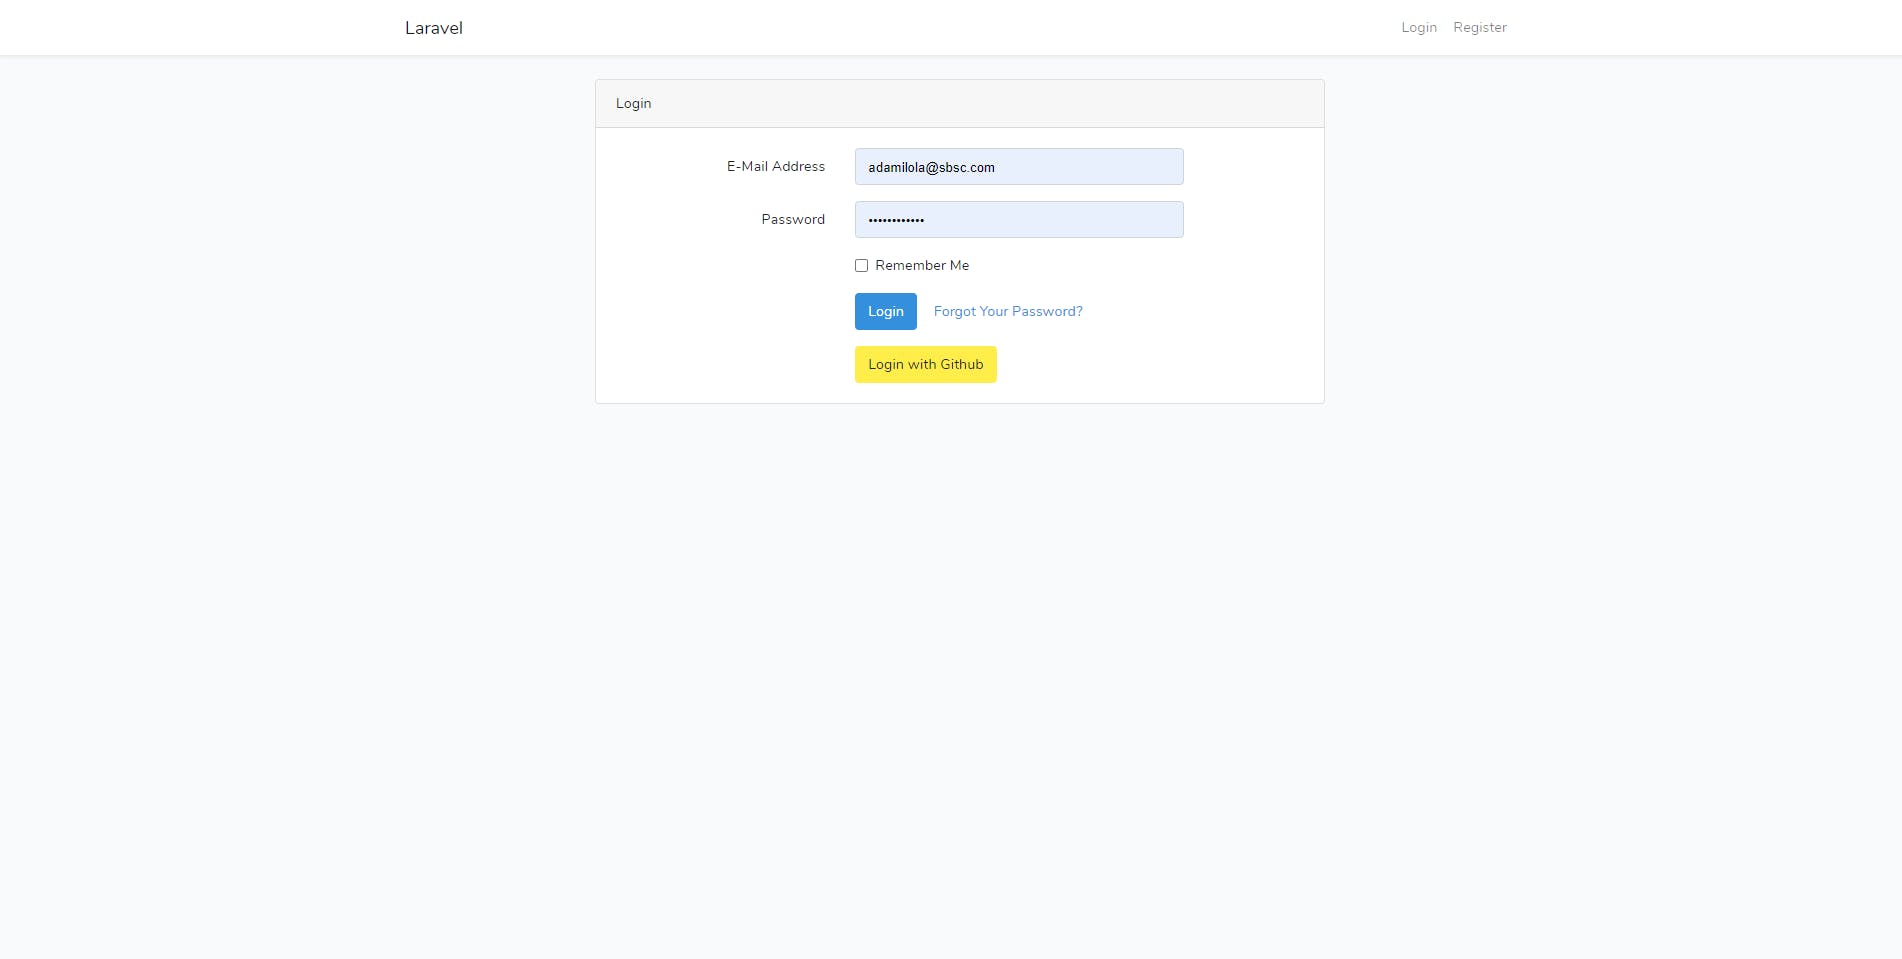
After replacing the login.blade.php you will have something like this.
Step 3
Socialite Installation and Configuration
Let us install Laravel socialite Run the following command in the root directory of your Laravel project to add the package to your project’s dependencies:
composer require laravel/socialite
We need to register the service provider in config / app.php once the installation is complete.
In the providers array, of config/app.php add
Laravel\Socialite\SocialiteServiceProvider::class,
In the aliases array of the same file, add
'Socialite' => Laravel\Socialite\Facades\Socialite::class,
In your Laravel software, Socialite is all set up and you are ready to introduce social login.
Add the following to config/services.php
'github' => [
        'client_id' => env('GITHUB_ID'),
        'client_secret' => env('GITHUB_SECRET'),
        'redirect' => env('GITHUB_URL'),
    ],
Add the following to .env
GITHUB_ID=
GITHUB_SECRET=
GITHUB_URL=http://127.0.0.1:8000/github/callback
Let’s go to https://github.com/settings/developers and create a new app. We have put app name, description, website name, and callback URL on this page :
You will see your dashboard. Now get the following CLIENT ID and CLIENT SECRET. Copy the APP ID and App Secret content from the Dashboard settings into GITHUB ID and GITHUB SECRET, respectively.
Go to app/User.php and add provider and provider_id
'name', 'email', 'password', 'provider', 'provider_id',
Go to your database/migration folder, replace the user schema with the following
<?php

use Illuminate\Database\Migrations\Migration;
use Illuminate\Database\Schema\Blueprint;
use Illuminate\Support\Facades\Schema;

class CreateUsersTable extends Migration
{
    /**
     * Run the migrations.
     *
     * @return void
     */
    public function up()
    {
        Schema::create('users', function (Blueprint $table) {
            $table->id();
            $table->string('name');
            $table->string('email')->nullable();
            $table->timestamp('email_verified_at')->nullable();
            $table->string('password')->nullable();
            $table->string('provider');
            $table->string('provider_id');
            $table->rememberToken();
            $table->timestamps();
        });
    }

    /**
     * Reverse the migrations.
     *
     * @return void
     */
    public function down()
    {
        Schema::dropIfExists('users');
    }
}
Run php artisan migrate command
Step 4
Route and Controller
We will create two routes in the web.php file. Go to app/routes/web.php file and create two below routes here
Route::get('login/{provider}', 'App\Http\Controllers\Auth\LoginController@redirectToProvider');
Route::get('{provider}/callback', 'App\Http\Controllers\Auth\LoginController@handleProviderCallback');
Now, replace the LoginController.php with the following
<?php

namespace App\Http\Controllers\Auth;

use App\Http\Controllers\Controller;
use App\Providers\RouteServiceProvider;
use Illuminate\Foundation\Auth\AuthenticatesUsers;
use Socialite;
use App\Models\User;
use Auth;

class LoginController extends Controller
{
    /*
    |--------------------------------------------------------------------------
    | Login Controller
    |--------------------------------------------------------------------------
    |
    | This controller handles authenticating users for the application and
    | redirecting them to your home screen. The controller uses a trait
    | to conveniently provide its functionality to your applications.
    |
    */

    use AuthenticatesUsers;

    /**
     * Where to redirect users after login.
     *
     * @var string
     */
    protected $redirectTo = RouteServiceProvider::HOME;

    /**
     * Create a new controller instance.
     *
     * @return void
     */
    public function __construct()
    {
        $this->middleware('guest')->except('logout');
    }

    /**
     * Redirect the user to the provider authentication page.
     *
     * @return Response
     */
    public function redirectToProvider($provider)
    {
        return Socialite::driver($provider)->redirect();
    }


    /**
     * Obtain the user information from provider.
     *
     * @return Response
     */
    public function handleProviderCallback($provider)
    {
        $user = Socialite::driver($provider)->user();
        $authUser = $this->findOrCreateUser($user, $provider);
        Auth::login($authUser, true);
        return redirect($this->redirectTo);
    }

    /**
     * If a user has registered before using social auth, return the user
     * else, create a new user object.
     * @param  $user Socialite user object
     * @param $provider Social auth provider
     * @return  User
     */
    public function findOrCreateUser($user, $provider)
    {
        $authUser = User::where('provider_id', $user->id)->first();
        if ($authUser) {
            return $authUser;
        }
        return User::create([
            'name'     => $user->name,
            'email'    => $user->email,
            'provider' => $provider,
            'provider_id' => $user->id
        ]);
    }
}
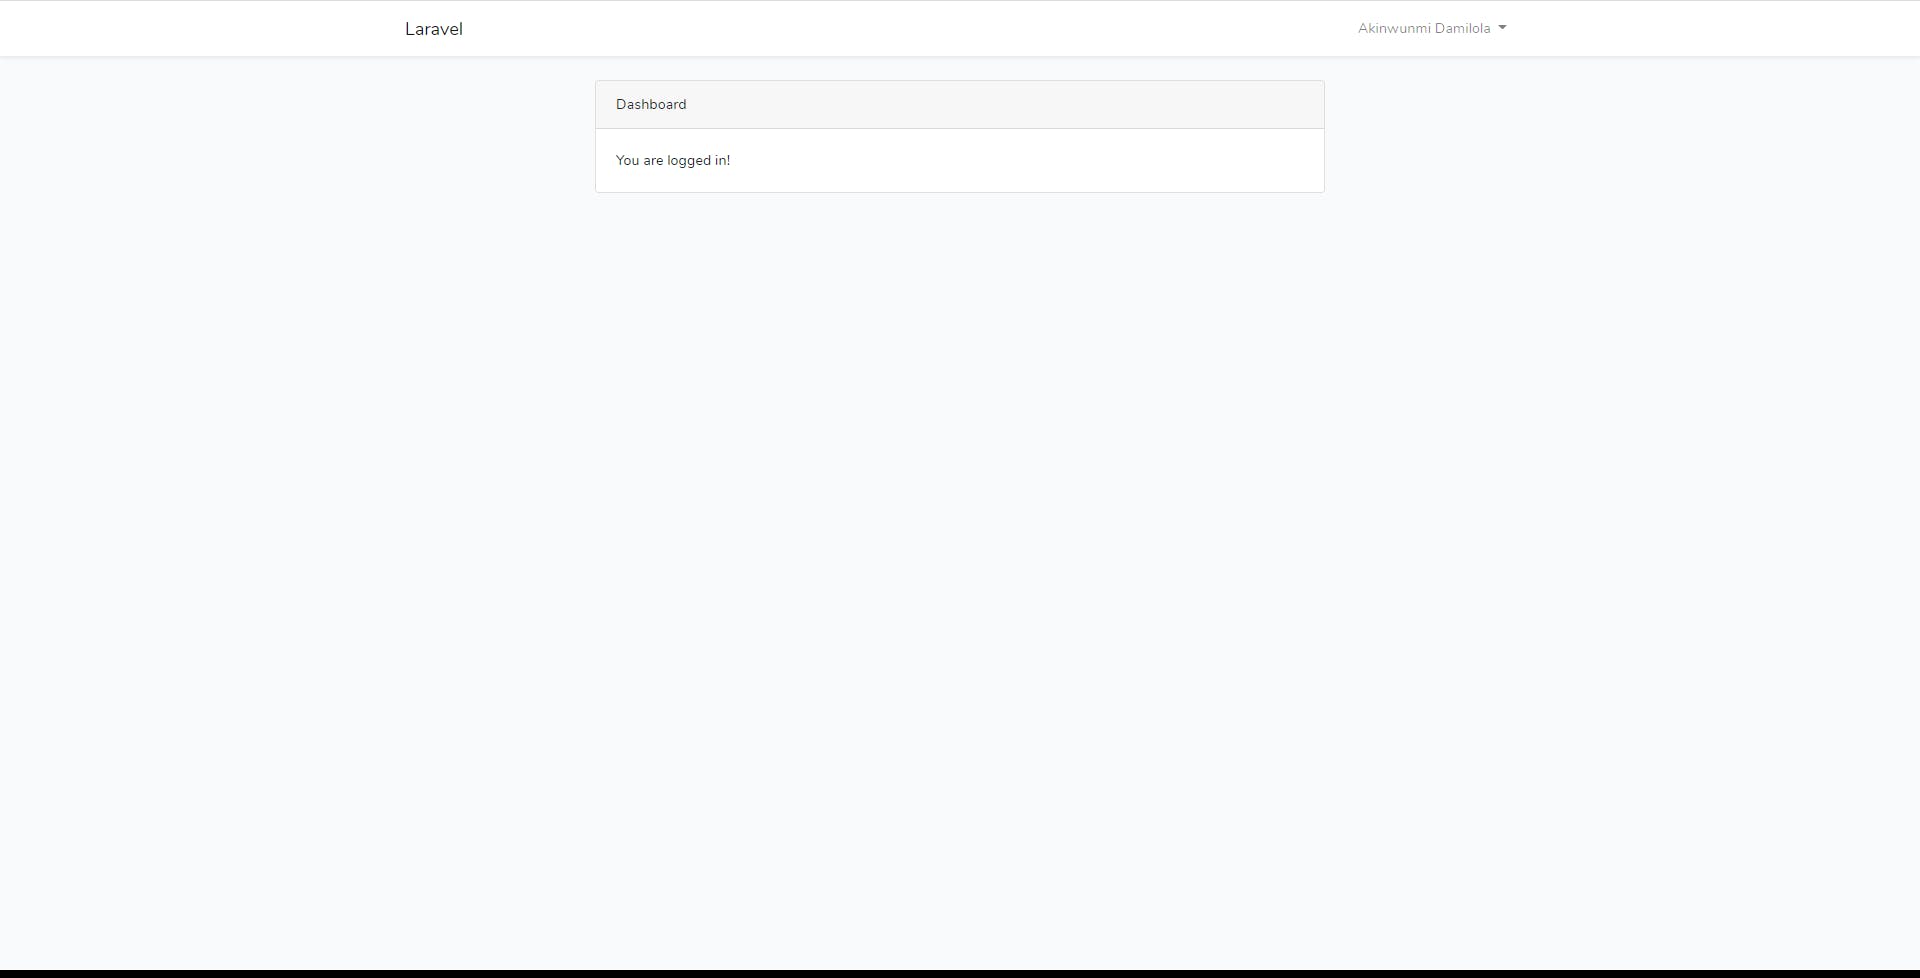
Go to your browser and click on login with github
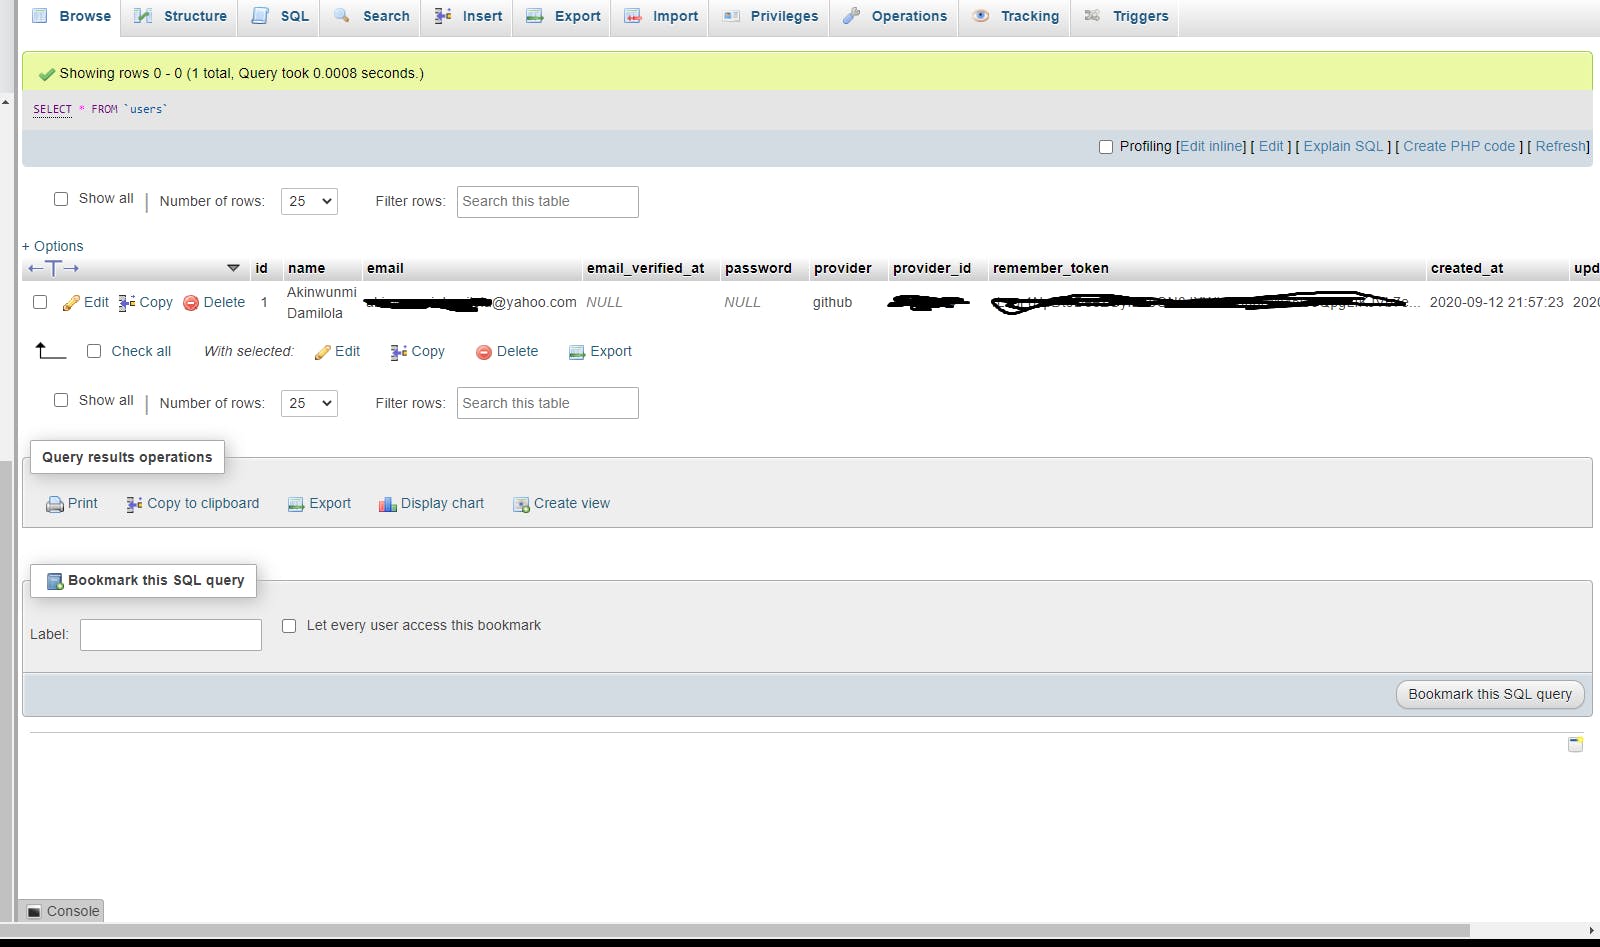
You will redirected to your github account. After a successfully login your DB should look like this
Conclusion
In this tutorial, We have successfully login with GitHub Credentials using Socialite — The official package provided by Laravel for OAuth authentication with the Laravel 8.0.